The Lorex Desktop App: Easy Download Guide for Windows & Mac (Latest Version) is a helpful tool for people who own Lorex security cameras or recorders. Many users want to view live video, check recorded videos, change settings, and keep an eye on their home or business from a big computer screen instead of just a phone. The desktop app (also called Lorex Client or Lorex Cloud Client) makes this easy and safe.
This guide will show you everything in very simple steps. We focus only on official ways from Lorex to keep your computer safe. No fake links or old versions here. Lorex is a well-known company with over 30 years in security cameras. They offer good tools to help you protect what matters most.
What Is the Lorex Desktop App?
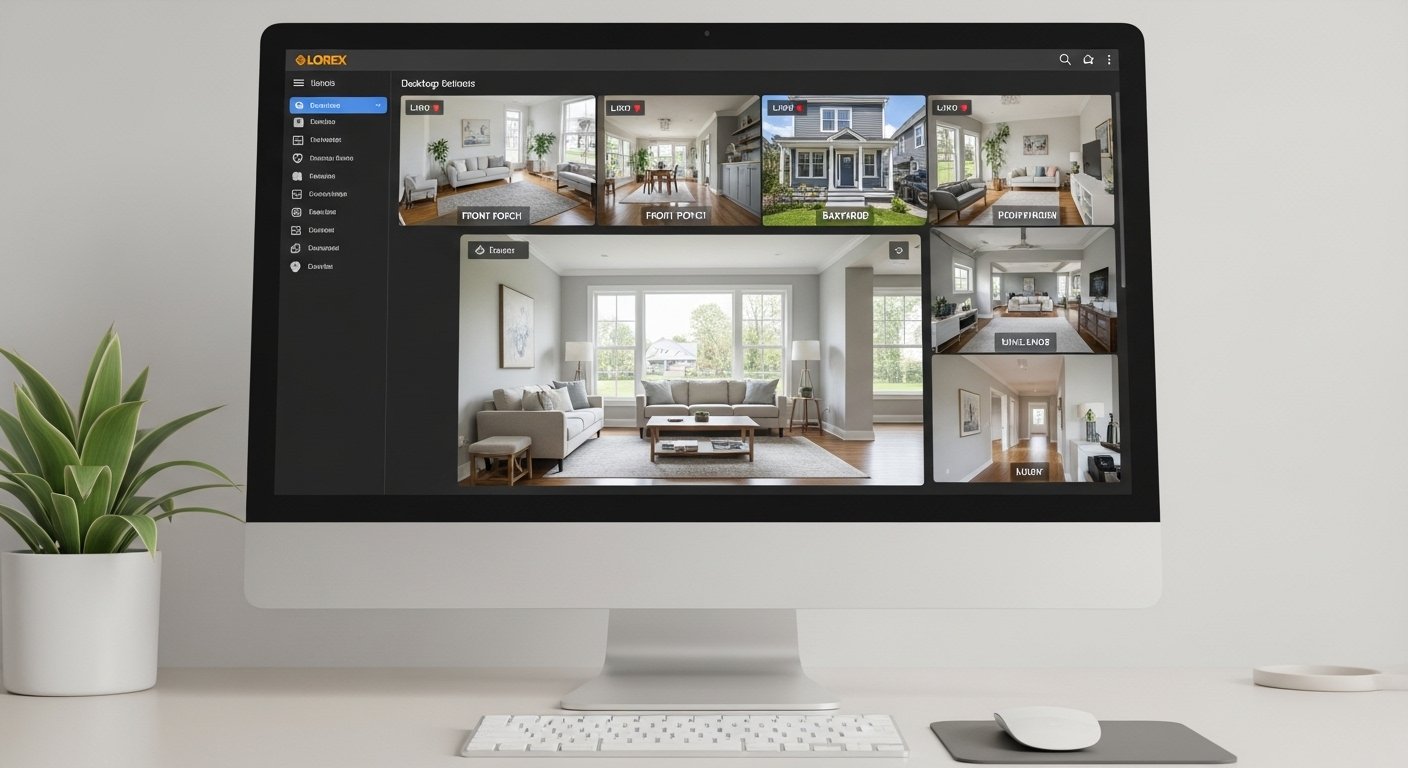
The Lorex desktop app is software you put on your Windows PC or Mac computer. It lets you connect to your Lorex security system from far away or at home.
Here are some main things it does:
- See live video from all your cameras at the same time.
- Watch old recordings and save important parts.
- Change camera settings like motion alerts or picture quality.
- Get better control than on a small phone screen.
- Work with many Lorex models, like NVRs, DVRs, and some cloud-connected systems.
There are a few names people use: Lorex Client, Lorex Cloud Client, or Lorex VMS Client. The newest versions are Lorex Client 13 for Windows and Lorex Client 12 for Mac (as of early 2026 info from Lorex). These come from the official Lorex site.
Lorex also has mobile apps like Lorex Cloud, Lorex Classic, Lorex Connect, and Lorex Pro for phones. But this guide is only about the desktop one for computers.
Why Use the Lorex Desktop App Instead of Just the Phone App?
Many people start with the phone app because it is quick. But the desktop app has big benefits:
- Bigger screen to see more cameras clearly.
- Easier to use mouse and keyboard for settings.
- Better for long viewing times without phone battery drain.
- Good for offices or homes with many cameras.
- Some older Lorex recorders work best with the desktop client for full settings access.
If you do not want to download anything, Lorex has a web portal at lorex.com/portal in your browser. But the full app gives more features and is faster for most users.
Before You Download: Check Your System
Make sure your computer can run the app well.
For Windows:
- Windows 10 or Windows 11 (most new PCs work).
- At least 4GB RAM (8GB is better for many cameras).
- Good internet for remote view.
- Free space on hard drive (about 200-500MB for install).
For Mac:
- macOS 10.13 or newer (most Macs from the last few years are fine).
- Similar RAM and space needs.
You need your Lorex account email and password. If you use the mobile app already, use the same login. If not, you can make one during setup.
Always download from the official Lorex website only. This keeps your computer free from viruses or bad software.
Step-by-Step: How to Download the Lorex Desktop App
Go to the official Lorex help page for downloads. This is the safe place.
- Open your web browser (like Chrome, Edge, or Safari).
- Go to this page: https://www.lorex.com/blogs/help/lorex-mobile-apps-software-downloads (This is the main downloads page from Lorex, updated as of 2026.)
- Look for the section about desktop software or Lorex Client.
- For Windows users: Find “Lorex Client 13” and click the download link for Windows. It is for PC users.
- For Mac users: Find “Lorex Client 12” and click the download link for macOS.
The file will save to your Downloads folder. It is usually an .exe file for Windows or .pkg/.dmg for Mac.
Important Note: Links can change with updates. If you do not see the exact version, look for “Lorex Client” or “Lorex Cloud Client” on that page. Lorex sometimes calls it Lorex VMS Client too. Always pick the latest one shown.
How to Install the Lorex Desktop App on Windows

Installing on Windows is very easy.
- Find the downloaded file in your Downloads folder. It looks like “Lorex_Client_13_setup.exe” or similar.
- Double-click the file to start.
- If Windows asks “Do you want to allow this app to make changes?”, click Yes.
- Follow the steps on screen: Click Next, agree to terms, choose install location (default is fine), and click Install.
- Wait a minute or two. It will finish and may ask to launch the app.
- Open the app from your desktop or Start menu.
- Log in with your Lorex account. If you have no account, there is a sign-up option.
- Add your device: It may find your recorder automatically if on same network, or use P2P code/UID from your Lorex system.
Done! You can now see your cameras.
How to Install the Lorex Desktop App on Mac
Mac install is also simple.
- Find the downloaded file (like “LorexCloud_Mac.pkg” or similar).
- Double-click it.
- If macOS says it is from the internet, click Open.
- Follow the installer: Agree to terms, choose install spot, and install.
- You may need to enter your Mac password.
- After install, open the app from Applications folder or Launchpad.
- Log in the same way as Windows.
- Connect your Lorex recorder or cameras.
If you see a message about unknown developer, right-click the app, choose Open, and allow it.
How to Set Up and Use the App After Install
Once open and logged in:
- The main screen shows your devices.
- Click on a camera for live view.
- Go to Playback for old videos (choose date and time).
- Settings menu lets you change motion zones, alerts, or add users.
- For remote access away from home, make sure your recorder has internet and P2P is on (check your Lorex manual).
Tips for best use:
- Keep your app updated. Check the Lorex site now and then for new versions.
- Use strong passwords for your Lorex account.
- If connection fails, check internet, firewall, or restart app/computer.
- For help with specific models, see Lorex support pages.
Common Problems and Easy Fixes
Sometimes things do not work right away. Here are common issues:
Problem: Download will not start. Fix: Use another browser or clear cache. Make sure no ad-blocker stops it.
Problem: App will not open after install. Fix: Restart computer. On Mac, allow in Security settings.
Problem: Cannot connect to cameras. Fix: Make sure recorder is online. Use same account as mobile app. Check UID code.
Problem: Old version needed? Fix: Stick to latest. Old ones may not work with new recorders.
If stuck, go to lorex.com/support or their help blogs.
Extra Tips for Better Security with Lorex
- Update your recorder firmware too for best features.
- Turn on two-factor auth if Lorex offers it.
- View on desktop for work, phone for on-the-go.
- If you have Fusion, Classic, or other lines, check which app fits best, but desktop client works for many.
The Lorex desktop app is a great tool to make your security system even better. With a big screen, you feel more in control and can spot things faster.
If you follow these steps, you will have it running in under 10 minutes. Enjoy peace of mind knowing your home or office is watched well.
Disclaimer:
This article is only for general information. We are not connected with Lorex Technology in any way. This is not a promotional or affiliate article, and we do not make money from any downloads or links. We try to give correct and updated information, but things can change anytime. Please always check the official Lorex website for the latest details. We are not responsible for any problems, loss, or damage that may happen from using the app or following this guide.
Explore More
- Rust Base Builder App: Best Mobile Experience on iOS & Android
- Best Free Jewelry Appraisal App for Android & iPhone – Accurate Jewelry Valuation
- RedSpot App: Secure Login, Easy Download, and Simple Access Guide – For Students in the USA
About the Author