If you’ve ever wished you could turn an idea into a visual without knowing how to draw or use design software, you’re not alone. That’s basically what AI image generation promises, and in 2026, it actually delivers on that promise more often than not.
This guide is for people who are curious but haven’t jumped in yet. No technical background required.
So what actually is an AI image generator?
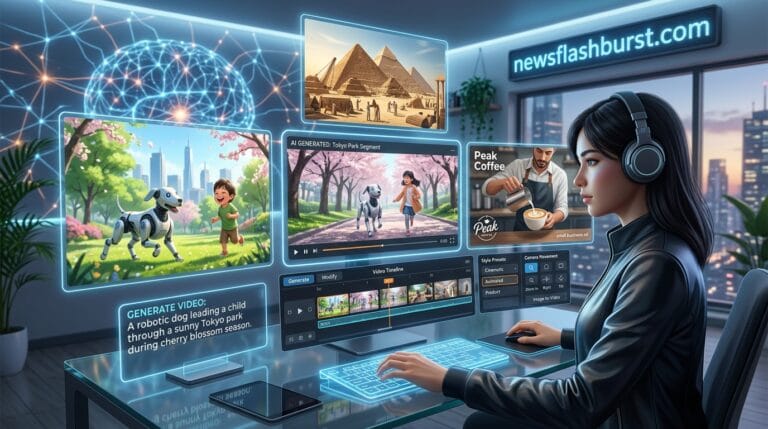
At its core, an AI Image Generator is a tool that takes a text description and turns it into an image. You type something like “a golden retriever sitting in a meadow at sunrise, watercolor style” and within seconds you have a unique image that didn’t exist before.
The technology behind it is called diffusion modeling. The short version: the AI learns from enormous amounts of existing images and their descriptions, then applies that learning to produce new images that match what you describe. You don’t need to understand the mechanics to use it well, but it helps to know that the AI is genuinely interpreting your words, not just searching a database.
How does the process work in practice?
Here’s what actually happens when you use one of these tools:
You write a prompt. The AI reads it, interprets the key elements (subject, style, mood, composition), and generates an image from what starts as visual noise, gradually refining it until something coherent emerges. Most tools give you results in a few seconds. Some let you generate multiple variations at once so you can pick the best one.
From there, you can usually tweak the prompt and regenerate, adjust settings like image size or style intensity, or use additional features like upscaling to increase the resolution of a result you like.
That’s genuinely the whole basic workflow. It’s more intuitive than most people expect.
What can you actually use it for?
This is the question that matters most for most people. Here are some of the most common real-world uses:
Content creation. Blog posts, social media, newsletters, presentations. Instead of scrolling through stock photo sites looking for something that vaguely fits, you describe exactly what you need and generate it.
Marketing and advertising. Campaign visuals, product mockups, ad creative. Teams use AI image generation to produce and test multiple visual directions quickly without commissioning separate design work for each.
E-commerce. Product images in different settings, lifestyle shots, background variations. Particularly useful for brands that can’t afford a photoshoot for every product or season.
Personal and creative projects. Book covers, illustration concepts, digital art, reference images for other creative work. Artists and writers use these tools to visualize ideas faster.
Internal documents and presentations. Custom visuals for decks, reports, and training materials that look better than clip art and are more specific than generic stock photos.
Terms you’ll run into
You don’t need to memorize these, but knowing them makes reading tutorials and help docs much easier.
Prompt. Your text description. The instructions you give the AI.
Negative prompt. Words that tell the AI what you don’t want. Common examples: “blurry,” “watermark,” “extra fingers,” “low quality.”
Model. The underlying AI system. Different models have different strengths. Some are better at photorealism, others at illustration or specific art styles.
Upscaling. Increasing the resolution of an image. Good upscaling adds genuine detail rather than just making the file bigger.
Inpainting. Editing a specific region of an existing image without affecting the rest.
Outpainting. Extending an image beyond its original edges.
Aspect ratio. The proportional dimensions of the image (e.g., 16:9 for landscape, 9:16 for vertical/mobile, 1:1 for square).
Writing prompts that actually work
This is where most beginners get stuck, and it’s also where the biggest quality gains come from.
Be specific about the subject. “A woman” gives the AI almost nothing to work with. “A woman in her 40s reading at a café table, coffee in hand, glasses, relaxed expression” gives it a lot more.
Describe the style. Photorealistic, watercolor, flat design, oil painting, pencil sketch, cinematic. These single words make a dramatic difference to the output.
Include lighting. “Soft morning light,” “dramatic studio lighting,” “golden hour,” “overcast diffused light.” Lighting is what separates amateur-looking images from professional ones, and the AI responds to these cues well.
Mention composition. “Close-up,” “wide shot,” “bird’s eye view,” “centered,” “rule of thirds.” These guide how the AI frames the image.
Use quality modifiers. Terms like “highly detailed,” “sharp focus,” “photorealistic,” and “8K” consistently push output quality higher across most tools.
The difference between a vague prompt and a specific one isn’t subtle. It’s the difference between a generic image and something you’d actually use.
Common mistakes to avoid
Expecting perfect results on the first try. Even experienced users iterate. Generate multiple versions, adjust the prompt, try again. That’s the normal workflow.
Ignoring negative prompts. If your outputs keep coming back with something you don’t want (a particular aesthetic, common AI artifacts like distorted hands, watermarks), add those things to your negative prompt.
Being too abstract. “Love,” “success,” “freedom” are hard for an AI to visualize in a specific way. If you want something abstract, give it a concrete visual expression to work with: “two people embracing at an airport, warm light, candid” instead of just “love.”
Not experimenting with style. If your first attempt doesn’t look right, the style descriptor is often the easiest thing to change for a dramatically different result.
Is it actually useful, or just a toy?
Genuinely useful. The people getting the most out of AI image generation are using it to solve real production problems: reducing reliance on expensive stock subscriptions, cutting the number of photoshoots they need, speeding up the early stages of creative projects, and producing more content at a lower cost.
It’s not a replacement for professional photography or skilled design in every context. But for the enormous range of visual content needs that don’t require that level of production, it’s become a serious working tool for a lot of people.
The best way to find out whether it works for your use case is to try it. Most tools have free tiers generous enough to give you a real sense of what they can do before you spend anything.
Getting started: your first five minutes
Pick a tool. Create an account. Write a prompt about something specific you’d actually want an image of. Generate four variations. Look at what comes back, note what’s close and what’s off, and adjust your prompt based on that. Generate again.
That’s it. The learning curve is short. Most people get to genuinely useful results within their first session.
The tools available today are good enough that if something isn’t working, the limiting factor is almost always the prompt, not the technology.
About the Author